Sculpting flowers with buttercream: where to start
I have 40 wedding cakes booked in for 2021 (who knows if they’ll go ahead but that’s not the point of this post), and only two of these are for piped designs. Nearly every single order on my books is for a sculpted floral design, or one that mixes sculpture and piping. It’s what customers want. Couples share their wedding Pinterest boards with me in our Zoom meetings (Don’t you LOVE online consultations - no tea making, no constant interruptions from surly teenagers marooned upstairs ‘PLS mum I need food when will they go?) and they’re bursting with sculpted wedding cakes.
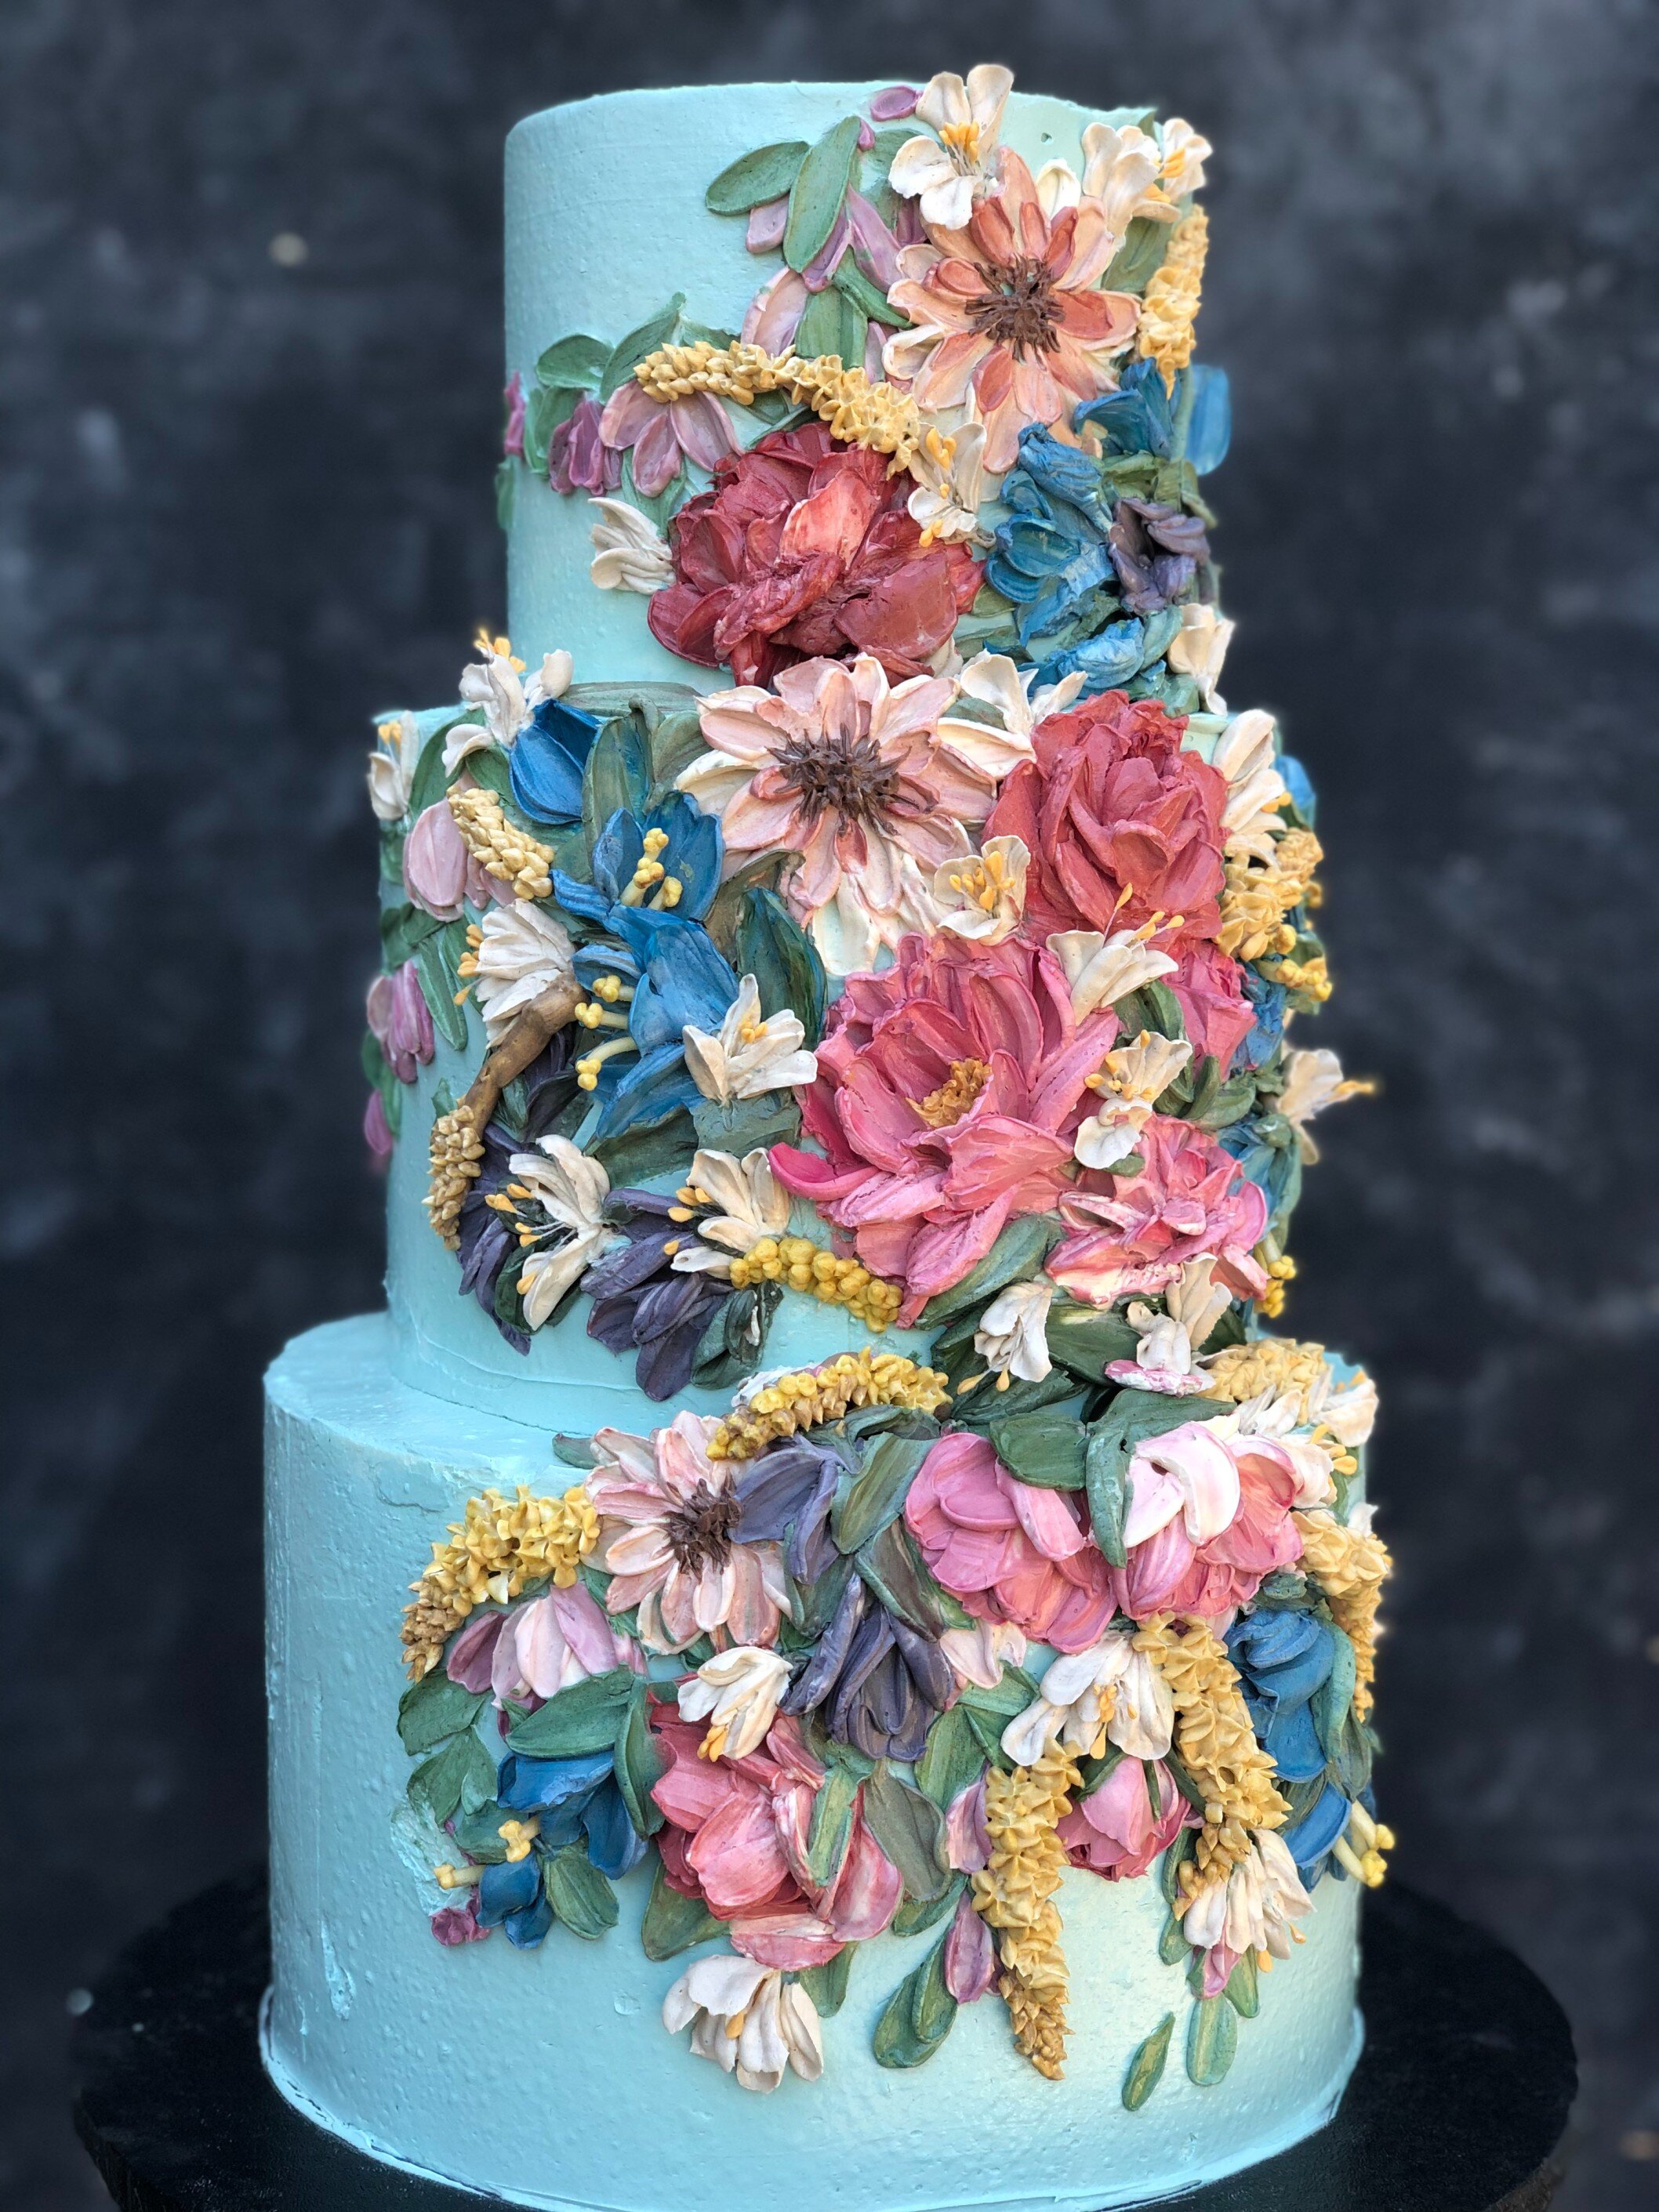
There are a few reasons for this. Sculpted flowers have bags more texture and character than piped flowers, which are arguably more accurately realistic and have finer detail. Because of the way in which his technique is achieved, with a palette knife directly onto the cake, elements flow together: blooms and buds tumble and cascade around each other as they would in a garden or a bouquet. As buttercream takes over from fondant as the finish of choice for wedding cakes, it creates a growing demand for vertical decoration. Flowers can also be piped directly onto the side of a cake, but not with the volume you can achieve with sculpture. Some statement blooms - roses and peonies particularly - are almost impossible to pipe on the side of a cake. To create this level of decoration with piped flowers would take hours and hours and there’s a high risk that much of it would fall off.
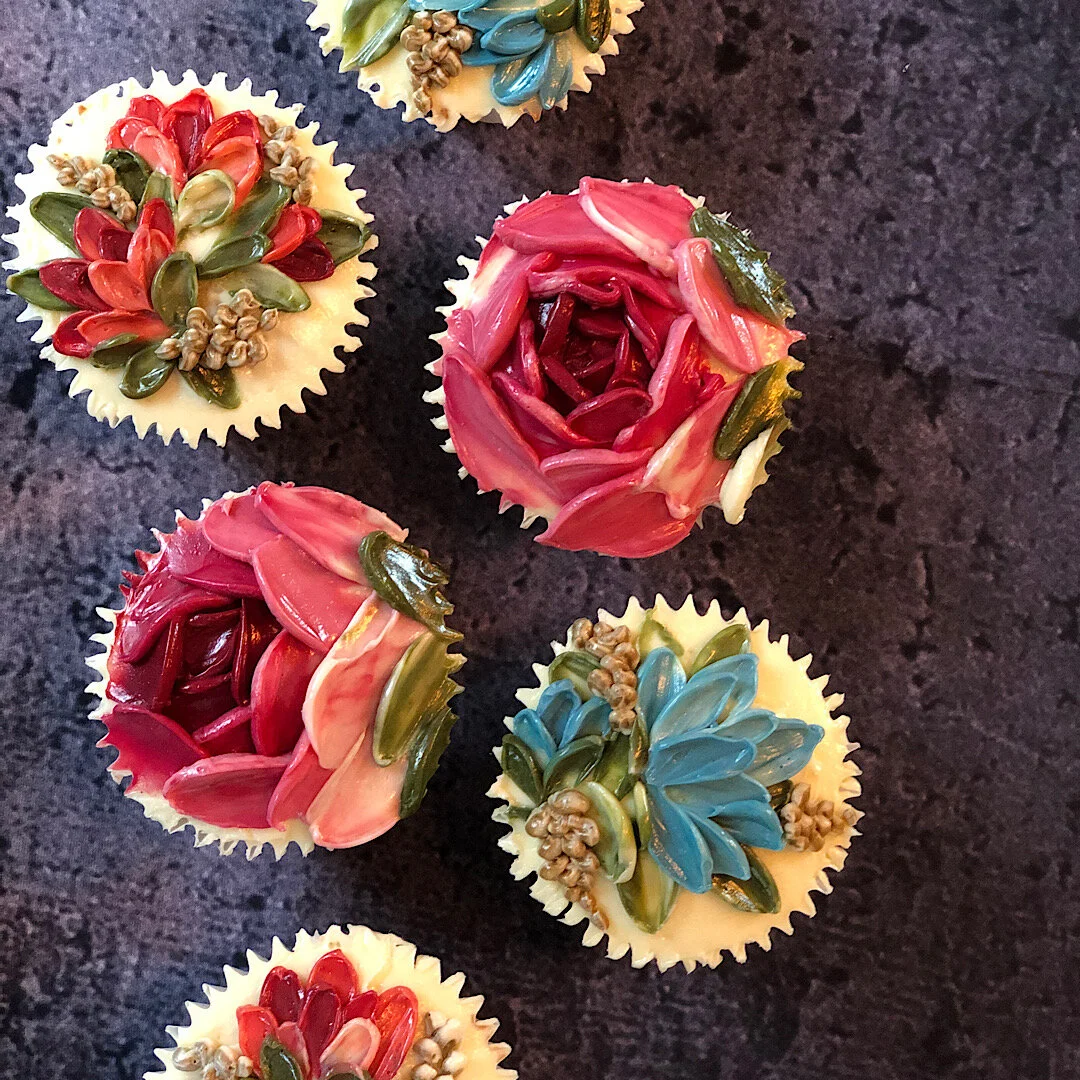
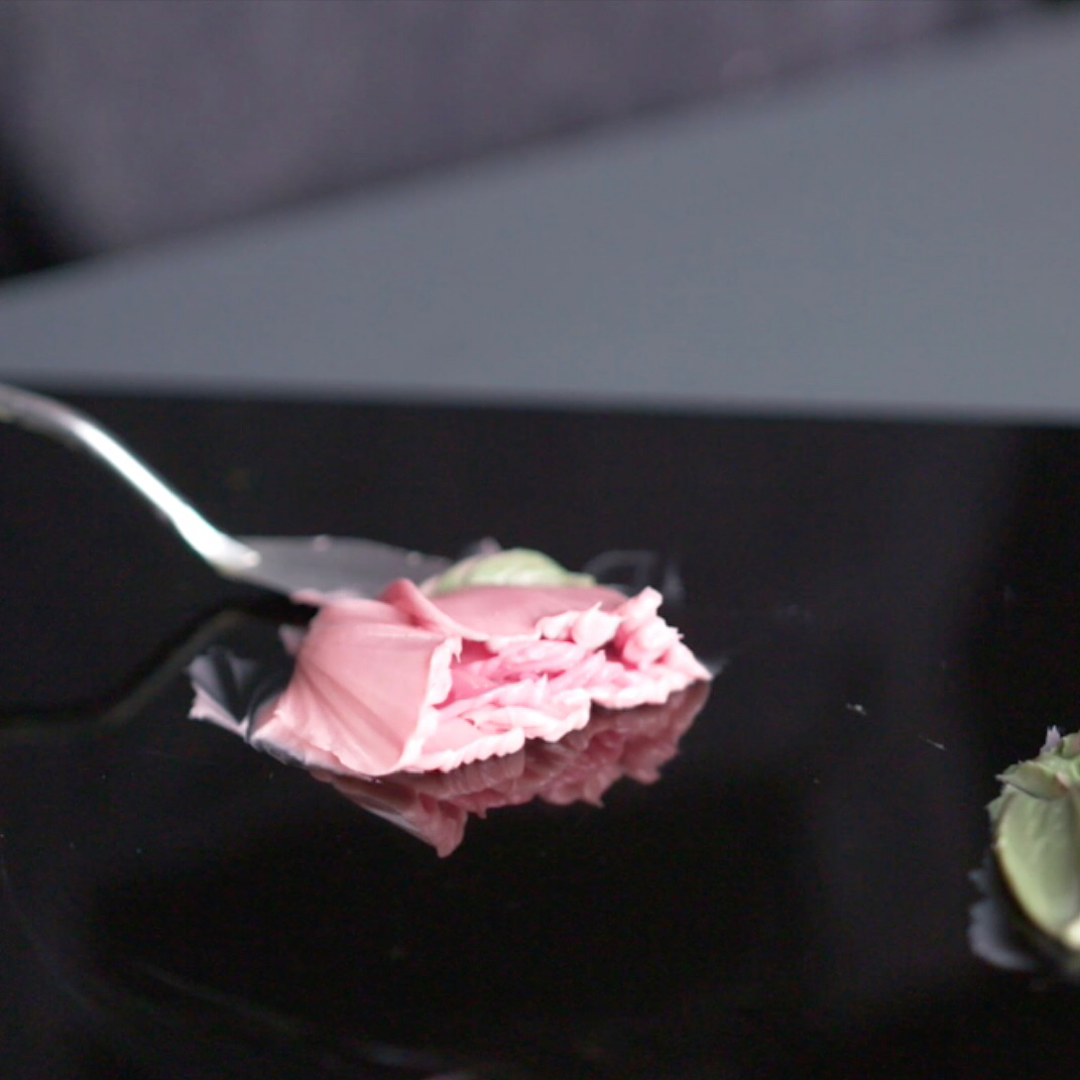
When you start experimenting with palette knives, I’d begin with just picking up a little amount of buttercream with your knife and painting with it. Just create strokes for petals and leaves. Always work in one direction to begin with and then from the outside of your composition into the centre, so you have space to move. Start by painting onto a board or cupcakes so the space you have to fill doesn’t seem overwhelming. Use leftover buttercream and don’t worry about colour at this stage.
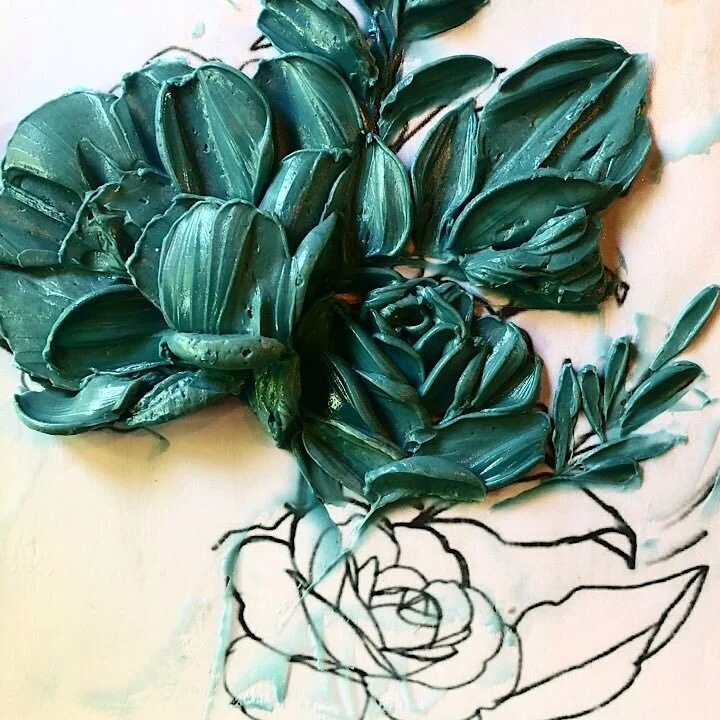
As you become more confident, print off simple tattoo designs or vector images of groups of flowers onto A4 sheets and slip them into transparent plastic folders to practice on. Start to collect more buttercream on your knife, and place it onto your image, keeping the knife at a low angle to the surface of the cake. Use toothpicks to help you ease the butterceam from the knife if you get into a tight spot. There are no rules. Everyone does this differently. I use the front and back of my knife, sometimes squishing two elements side by side on the board before transporting them. Use just the tip for small petals and the whole blade for larger elements.
Try using different shaped knives - a rounded tip is useful for sculpting broader petals, a pointed knife better for leaves and narrow pointed petals. Always apply your shapes with the knife at a low angle or they will stand out too far from the surface. As you introduce colour, avoid mixing your pigments too thoroughly: remember that flowers usually have a darker centre and that variations in colour will give your design character and a ‘painterly’ finish.

If your flower looks a weird shape, frame it with foliage, pipe a bunch of stamen where you imagine the centre to be and move on. Stamens are transforming. Make them larger than seems realistic as they really add movement and dynamism. Any howling mistakes can be swiftly covered up by piping flower spikes throughout your composition. Just use a little star tip or even a leaf tip to create long plumes of tiny flowers that weave in and out of the statement blooms. This is most effective in a neutral colour - it really will anchor you design and reduce the chroma of any too-bright elements. Remember to add some natural or brown buttercream to your bag for a natural graduated finish.

You may find it helpful to sketch the outline of your main blooms with a toothpick before you start sculpting on a real cake. I do this to stop my composition travelling too far around the sides. Keep an eye on the volume your’e creating in your statement blooms. I tend to perch open peonies and roses on the step between tiers, or above other bulky elements so they have a bit of support from the base.
I have buttercream sculpture painting tutorials on the website here. If you would like to learn how to sculpt a rose, peony or dahlia with buttercream head over there and have a look.
